Boost Your Video Production with an Efficient Editing Workflow
Introduction
Hey there, fellow creators! Ever feel like your video editing sessions drag on forever, leaving you frustrated and drained? You're not alone. In today's fast-paced world of content creation, mastering an efficient video editing workflow can transform your process from chaotic to seamless. Imagine cutting production time in half while boosting the quality of your videos. That's the power of a well-structured approach. Let's dive into how you can refine your workflow to produce standout content that captivates your audience.
Understanding Your Current Workflow
First off, take a step back and assess how you currently handle video editing. Do you jump straight into cutting footage without a plan, or do you have a loose outline? Identifying bottlenecks—like spending too much time on color grading or struggling with audio sync—is key. For instance, if you're a YouTuber editing weekly vlogs, note where you lose momentum. This self-audit helps pinpoint areas for improvement.
Think of your workflow as a roadmap. Without it, you're wandering aimlessly. By mapping out steps from import to export, you create a repeatable system that saves mental energy and reduces errors.
Essential Tools for Streamlined Editing
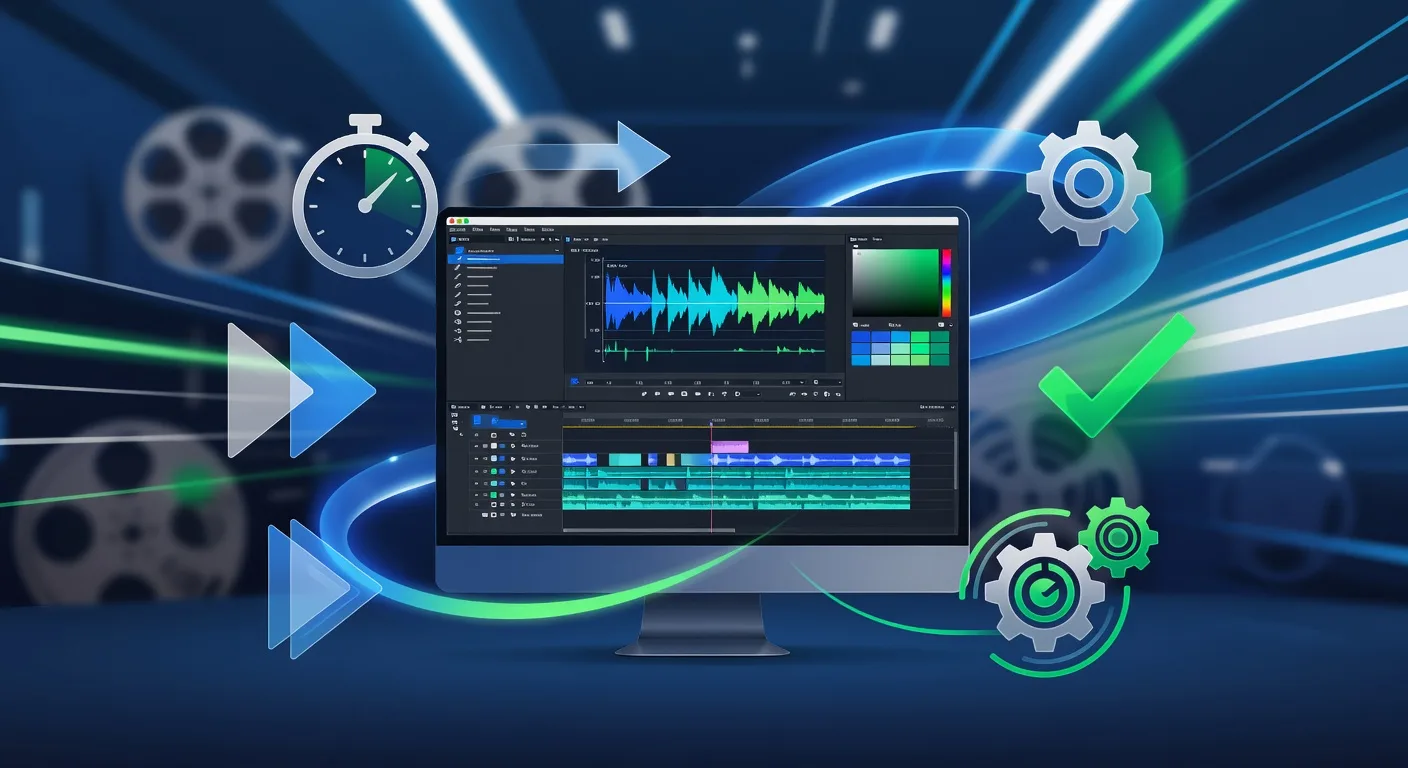
💡 Looking for professional Video Editing services? Check out our Fiverr gig to get started today!
Choosing the right tools can make or break your efficiency. Start with software that matches your skill level—beginners might love the intuitive interface of DaVinci Resolve, while pros opt for Adobe Premiere Pro's advanced features. Don't forget hardware; a decent computer with ample RAM prevents lag during renders.
Incorporate plugins for repetitive tasks, like auto-captioning for accessibility. For 3D elements, explore options that integrate smoothly, such as 3D modeling services to add dynamic visuals without reinventing the wheel.
Remember, tools are aids, not crutches. Pair them with habits like organizing files in a consistent folder structure to avoid digging through messy directories.
Building a Step-by-Step Process
Craft a clear, step-by-step process to guide your edits. Begin with logging footage—review and mark key clips right after shooting. Then, rough cut the sequence to form the story arc.
Move to fine-tuning: adjust pacing, add transitions, and layer in effects. Finally, polish with color correction and sound design. For video producers handling explainer videos, this methodical approach ensures clarity and engagement.
Incorporate feedback loops; show drafts to collaborators early. This iterative method refines your output without last-minute scrambles.
Incorporating Advanced Techniques
Once basics are solid, layer in advanced techniques like multicam editing for interviews or green screen work for immersive scenes. Experiment with AI tools for auto-stabilizing shaky footage, freeing you for creative decisions.
For content creators blending live-action with animation, integrate 3D product animation services to elevate demos. This hybrid approach keeps viewers hooked.
Stay updated with 2026 trends, like AI-driven editing assistants that suggest cuts based on audience data.
Checklist for Optimizing Your Workflow
- Audit your current process and note pain points like slow exports.
- Invest in reliable software and hardware upgrades for smoother operations.
- Create a standardized folder system for all projects to cut search time.
- Schedule dedicated editing sessions to build consistent habits.
- Use templates for common elements, such as intros or end screens.
- Incorporate short breaks to maintain focus and prevent burnout.
- Test renders regularly to catch issues early in the process.
- Seek feedback from peers to refine your techniques iteratively.
Frequently Asked Questions
What if I'm new to video editing?
Start small with free tutorials and basic tools. Focus on one project at a time to build confidence without overwhelming yourself.
How do I handle large video files?
Use proxies for editing—create lower-resolution versions to work with, then swap to originals for final output. This speeds up your workflow significantly.
Can workflow tips apply to team collaborations?
Absolutely. Establish shared guidelines, like using cloud storage for files, to ensure everyone stays aligned and productive.
What's the biggest time-saver in editing?
Pre-planning your shots during production. Knowing what you need upfront cuts down on unnecessary footage reviews.
How often should I update my workflow?
Review it quarterly. As your skills grow or tools evolve in 2026, tweak your process to stay efficient and innovative.
Conclusion
Wrapping up, an efficient video editing workflow isn't just about speed—it's about creating space for creativity and joy in your craft. By assessing, refining, and iterating, you'll produce videos that resonate deeply. Ready to elevate your game? Dive into our video editing services for personalized support, or explore custom logo animation to add flair. Let's make your next project a masterpiece—reach out today!
Ready to Get Started?
If you're looking for professional Video Editing services, I'm here to help! Visit my Fiverr profile to see my portfolio and place an order.
Turn this workflow into real deliverables
Browse production-ready 3D assets for your next project, then step into 3d modeling if you need a custom build.